
News
How to Maintain Waxless Skis (part 3)
January 7, 2009
How to maintain the kick-zone on a waxless ski: A simple guide to cleaning, repairing, and waxing
Go to Part One | Go to Part Two
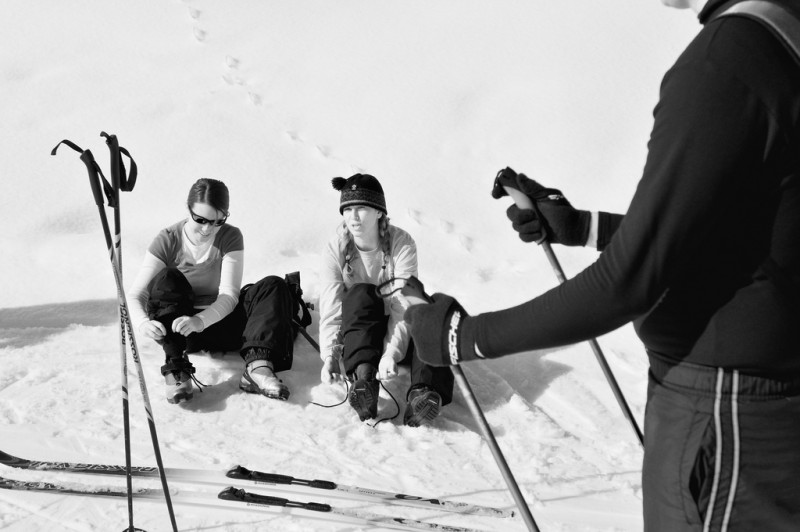
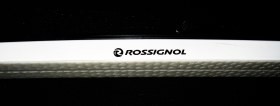
Now what about the kick-zone on a waxless ski? Many articles have been written with the assumption that if you use waxless skis, then you probably are not a competitive enough skier to be concerned with drag caused by a scratched up, un-waxed kick-zone. As such, most articles avoid treatment of how to maintain the kick-zone.
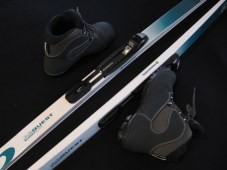
But maintaining the kick-zone is the single most important factor to avoid picking up clumps in warm weather on a waxless ski. Here's a simple way to do it: First, remove the coarse edges from scratches and gouges by lightly spot sanding with a small piece of 150 or 200 grit sandpaper, but do so sparingly, and do not round over the gripping edges of the fishscales. Often, a scratch will leave a ribbon of plastic that is only half connected to the base. Carefully remove this loose plastic with a small putty knife if the sandpaper does not do the job. Follow up each spot with 400 grit sandpaper, and then move to minor scratches with the 400 grit. Never sand across the width of kick zone! Only sand back and forth along the length of the ski.
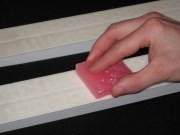 After you have sufficiently removed the raised portion of the scratches, clean the kick-zone with ski cleaner or alcohol. Once dry, take a bar of glide wax, and rub the flattest, smoothest side down the length of the ski, from the tip end to the tail end (in the kick-zone only). Do not rub the opposite direction as wax will fill in the gripping fishscale edges! Do this many times, adjusting the rubbing direction by 10 degrees to each side, to help fill all surface voids while leaving the grip edge clean of wax. The layering of wax will appear thin and dull. Finally, use your palm and vigorously rub the waxless kick-zone to warm the wax and smooth it into the base material. If the wax has a high melting point that doesn't soften with your hand, gently warm the wax with a hair drier, and then continue rubbing with your palm. Now your ski will stop picking up clumps of snow and ice, and will glide much more smoothly in a variety of conditions.
--AK